
In a luxury home, the floor is rarely a single room’s story. It flows from the foyer into the living room, meets tile at the kitchen, steps down into a sunken family room and disappears under a bedroom door. Every one of those meeting points is a transition, and how it is handled separates a good installation from a truly refined one. Across Chicagoland, we see beautiful hardwood undermined by clumsy thresholds and mismatched heights far more often than by the wood itself. This guide explains the transition options available, when each one belongs, and how to plan for seamless flow throughout your home.
Why Transitions Deserve Real Attention
A transition does three jobs at once. It bridges a height difference between two materials, it protects the exposed edge of each floor from wear and moisture, and it visually resolves the change from one surface to another. When any of those jobs is done poorly, the eye lands on it immediately. Toe-catching lips, thick metal strips and unfinished edges are the details that make an otherwise expensive floor feel ordinary.
In new construction, transitions can be designed out almost entirely by coordinating subfloor heights before any finish material is laid. In renovations, the existing conditions dictate the approach, which is why planning transitions early is one of the most valuable conversations you can have with your installer.
The Main Types of Hardwood Transitions
Flush transitions
The gold standard for luxury homes. When two floors sit at the same height, they can meet with a simple, tight seam or a slim flush strip of matching hardwood. This is most achievable when hardwood meets hardwood, or when the tile and wood assemblies have been engineered to finish at the same elevation. Flush transitions are nearly invisible and keep the floor plane reading as one continuous surface.
T-moldings
A T-molding sits in the gap between two floors of roughly equal height, most often in a doorway. It allows each floor to expand and contract independently, which matters in a climate like ours where humidity swings from summer to winter. Choose a T-molding milled from the same species and finished to match your floor rather than a generic off-the-shelf profile.
Reducers
Reducers slope from a taller floor down to a lower one, such as three-quarter-inch solid hardwood meeting thinner luxury vinyl plank in a mudroom or laundry room. A well-made hardwood reducer is subtle and comfortable underfoot. A poorly chosen one becomes a ramp you notice every time you cross it.
Thresholds and saddles
Thresholds are the wider, often more decorative pieces used at exterior doors, bathrooms and formal entries. In grand Chicago suburban homes, a marble or stone saddle at a bathroom door, or a wide hardwood threshold at the front entry, can be a deliberate design feature rather than a compromise.
Stair nosings
Where hardwood meets a step, the nosing must be sturdy, matched to the flooring and installed with precision. We covered this in depth in our guide to hardwood stairs and landings, but it bears repeating: nosings are transitions that carry real weight and traffic, so quality matters.
Managing Height Differences
Height mismatch is the root of most transition problems. Solid hardwood is typically three-quarters of an inch thick, engineered hardwood ranges from roughly three-eighths to five-eighths of an inch, and LVP or laminate may be under a quarter inch. Tile assemblies vary widely depending on the backer board and mortar bed.
The cleanest solutions happen below the surface. Options include adding a layer of underlayment or plywood beneath the thinner material, specifying a thicker engineered product to match adjacent solid wood, or selecting a tile assembly built to finish level with the hardwood. In new construction across the Chicago suburbs, we recommend that builders confirm finished floor elevations for every material before framing is complete. That single step eliminates most reducers and lets the home enjoy flush transitions throughout.
Designing Transitions as Features
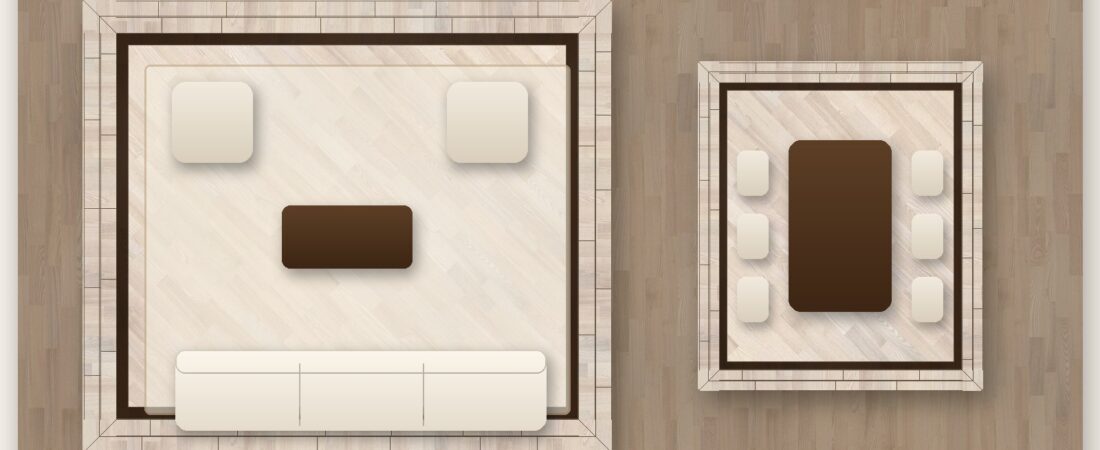
Not every transition needs to disappear. In the right spot, a transition can be a design moment. A floor picture frame that borders a dining room and meets the hallway hardwood at a crisp inlaid line turns a doorway into a threshold worth noticing. A contrasting walnut band between a herringbone foyer and straight-laid living room planks tells the eye that a new space begins here. Browse our patterns page for ideas on how borders and directional changes can mark transitions with intent.
The guiding principle is consistency. Decide early whether your home’s transitions will be invisible or expressive, then apply that decision throughout. A single unexpected metal strip in an otherwise flush home breaks the spell.
Planning Ahead With Your Installer
Before installation day, walk your home and note every place where the new floor will meet something else: tile, carpet, stone, stairs, exterior doors and existing hardwood. Discuss each one with your installer and ask for the specific transition piece planned for it. Confirm that moldings will be milled from matching material and finished to match. If you are matching new hardwood to existing floors, decide whether a subtle flush seam or a deliberate border is the goal.
Keep in mind that ANA Flooring installs in cleared, ready spaces. We do not move furniture or remove existing carpet, so any old flooring at a transition point should be removed before our team arrives. This ensures we can see the true subfloor conditions and build each transition correctly the first time.
Handled with care, transitions are the quiet detail that makes an entire home feel resolved. Explore the full range of options on our flooring types page, and let us help you plan a floor that flows beautifully from the front door to the last bedroom.
Planning a flooring project in Chicagoland?
ANA Flooring brings 25+ years of craftsmanship to luxury homes, estates and new construction across the Chicago suburbs.